Follow me on my project as I purchase a Yamaha XS650, get it running and registered and then chop it into what hopefully is a sweet scoot that I can get out on and tear up the roads.

Monday, June 27, 2011

It's been a while

Well it has been a lot longer since my last update than I had hoped, but I have made some progress over the last couple of months.

I rebuilt the front forks, completed rebuilding the front brake callipers with new seals and pistons, cleaned the rotors and wheels, installed new pads in the front, installed new brake lines and I have now bled the brakes.

Over the next week or so, I will install a new clutch worm gear, clean up a little bit of the stock wiring to get ready for rego, clean and degrease the rear swingarm, order new tyres and get them fitted, and then start the bike up again, get the tuning right, and then hopefully get it registered in near stock condition.

Since the last post, I have also received the new rear guard/fender and the fuel tank that I will be using later on. The guard/fender is a ribbed ducktail aluminium piece from 7Metalwest.com and the tank is a frisco mounted Detroit Brothers Instigator tank which I purchased through Lowbrow Customs.


Monday, October 18, 2010

Rebuilding the Forks Part 2

When it came time to remove the stanchion from the fork leg, I was able to loosen the allen bolt, but as most people experience, the bolt then just started spinning the damper rod in the bottom of the leg, not allowing you to get it undone all the way to pull apart.

After a lot of playing around with putting the fork back together to see if it would hold the damper rod, I jumped on the net and did a fair bit of reading and found that you need to either slide in a piece of dowel and apply downwards pressure or build a tool to hold the damper still.

After reading just about every forum I could find about xs650's I stumbled across one post that stated that it was 1978 that the damper rod was changed over and bikes that where made in mid 78 or later like my 81, need to have a 17mm hex bit inserted into the top of the damper rod to hold it still. Not having a 17mm hex bit, I read on and found that people have sometimes used threaded rods and several 10mm nuts to insert down the fork tube to hold the damper, as a 10mm bolt/nut has almost a perfect 17mm diameter on it.

I checked my toolbox and through the garage but just happened to have everything but a 10mm bolt and nuts, so I ran down to Bunnings and grabbed a bolt and 2 nuts to make my 17mm hex bit.

With a bit of thread lockerI spun on the two nuts to the bolt and tightened them up as much as I could and let the thread locker cure over night, and this evening put together the tool that would hopefully let me get the fork leg separated.

I grabbed my largest extension bar, a reducer and my 17mm socket and put in my handmade 17mm hex bit and slid it down the fork tube, and grabbed my allen key and went at the bolt and sure enough, with a few turns it loosened right up and the stanchion and the fork leg separated.

Over the next few days I will now clean out the inside and outside of the fork parts and then replace the oil seal, and then do the same to the other fork.

Here is the tool and the extension bar I used get the damer rod allen bolt out.


Monday, October 11, 2010

Rebuilding the Forks

Looking at the posts here, today is 3 months to the day since I last did some work on the bike and posted it up.

I have had a tonne of things going on over the last 3 months, with plenty of full weekends and things to do, progress on the bike has slipped dramatically, but not I am putting an end to that.

A couple of days before Father's Day I purchased a hydraulic motorcycle/atv lift from Repco, which I got on special for $149 down from $230 or so. I am fairly happy with the lift except that it is not perfectly level, so when there is some weight on it, you can rock it side to side a little, but besides that it is perfect.

I currently have the bike up on the lift, and the other week I fought with the cotter pin on the castled nut and finally got the front wheel off the bike.

After reading up on starting to dismantle the forks, I have finally gone for it and I have started to dismantle the forks ready to clean them up, put in some new seals, new fluid and make them work a little better than they did before.

So far I have removed the top cap, fork spring top and spring, and I have drained the oil. The sludge that came out of the fork sure wouldn't have been much good on the road, so I am glad that I have done this now. Tomorrow night I am going to try and separate the stanchion and the lower legs, clean them inside and out and then after that I will fit some new oil seals and rebuild them with new oil.

After not having touched the bike lately, I have really missed getting my hands dirty and getting some work done. I will not be leaving it anywhere near this long before doing more work.

Below are some pictures of how the bike sits now, and the messy garage I have to work with:


I have done some work in the background for the bike recently - I have worked out what tyres I am going to run, purchased new wheel bearings, head stem bearings, ordered the rear fender that I plan on running when the bike is hard tailed, chosen the tyres I will be running and I have also decided on the tank I will use, which I will be ordering shortly. I will get some pictures up of all of these soon in another post.

Sunday, July 11, 2010

Getting back into it

The last month and a bit have been hectic with the amount of work and things to check out on weekends, I have been neglecting to work on the chop.

Anyway, I had a few minutes spare today after checking out the Mudgeeraba Swap Meet and I got to work cleaning up the caliper pistons and the bores from the surface rust.

There is a bit of pitting on the pistons and I don't know if I should re-use them or not? I will end up replacing them later on, but do I want to bother doing it now and wait for new pistons from the states or should I put them back in with the new seal kit?

Let me know what you think.

More work should be coming over the next few weeks.


Wednesday, May 26, 2010

Cleaning the brakes

The other weekend I started on cleaning up the brakes, as they had been disconnected a while and looked like they needed a good clean.

It turns out that I was right, as they where seized solid. It took a can of brake clean per caliper, a c clamp, a piece of timber and my air compressor to get the pistons free and out of the caliper housing.

I started by getting the calipers off the bike and giving them a good clean around the piston. With one caliper I was able to bottom it out and then slowly work it out with the compressed air, the other caliper took several hits of 110PSI of air with lots of brake cleaner to even move the smallest amount.

With lots of air and then pushing the piston back into the caliper I was able to eventually get the piston free.

The pistons have some pitting on them, and I am going to get someone elses opinion on them before installing the rebuild kits and reassembling as I am not sure if they should be used again or not.

A few pics of the calipers:


Monday, May 3, 2010

Starting her up

I trid to stqart the bike on the Anzac Day Long weekend, but ran into an issue with the original coil having broken plug wires, plus I looked further into the bike, and at some stage someone had installed points and condensers, so the bike wasn't in fact running the TCI system from what I can tell.

So I set about installing the Pamco Ignition kit that I purchased from MikesXS and got that and the new coil all wired in. Although the bike had been converted to run the older points system which uses the ATU unit, I had to replace it all as it was worn and siezed.

That set me back until this weekend when I completed the wiring and had a go starting the bike. I hooked everything up, put the battery in and filled it with fuel, only to have the left carb pour out fuel. It was obviously the float sticking, but tapping it with a screwdriver did not stop the flooding. So I pulled the carbs off again, re-set the float levels and made sure all was ok, and I ran a test on the bench to check if the carbs would flood again. This time there was no flooding, but there was a leak from the Fuel T piece that connects the two carbs to the fuel source. Not having actually split the carbs apart from each other, I had not replaced this piece or checked it out.

I started pulling the carbs apart, but got the the screws holding the carbs to the link bar, which where soft and starting to strip. With one screw nearly completely mangled already, I decided to use a trick I had done before - get some nuts welded onto the tops of the screws to help pull them out.

I got a good friend of mine to tig on some nuts and together with the welding and the two of us persuading the screws we got them dissasembled. I then stripped off the work rubber on the end of the carbs and cut up some new fuel tube and pressed the assembly back togethe. This stopped the fuel leak from the T piece, so I mounted the carbs again and got to kicking her over.

After finally getting the fuel flowing correctly, the battery was sitting at 7.4 Volts and I kicked the bike to life for the first time since I have had it, and for the first time in over a year for the bike itself.

I would recommend double clicking on the Youtube video below and opening in a new full size window

Sunday, April 18, 2010

Making progress

The last few weekends I have been working away at the bike getting ready to hopefully start the motor next weekend, which is a long weekend for Anzac Day. I have also placed a couple more orders from MikesXS for some more parts.

Parts wise, I have purchased:

Engine Oil Seal Kit
Clutch Pushrod Oil Seal
3 Bond #1194-Gasket Sealant
Headpipe Gaskets
Gasket - filter element cover
Gasket - filter element base
Gasket - RH crankcase cover (clutch)
Gasket - carb holder (Pk./2)
Gasket - LH case cover (Alternator)

That order with shipping came to a total of $123.88 AUD with shipping.

I have also placed an order for the following parts last week, and they will arrive this week:

Speedo-2.25" White Face 0-220 KPH
Pamco Electronic Ignition Kit
Copper Washers - (Pk/10) filter/Cooler
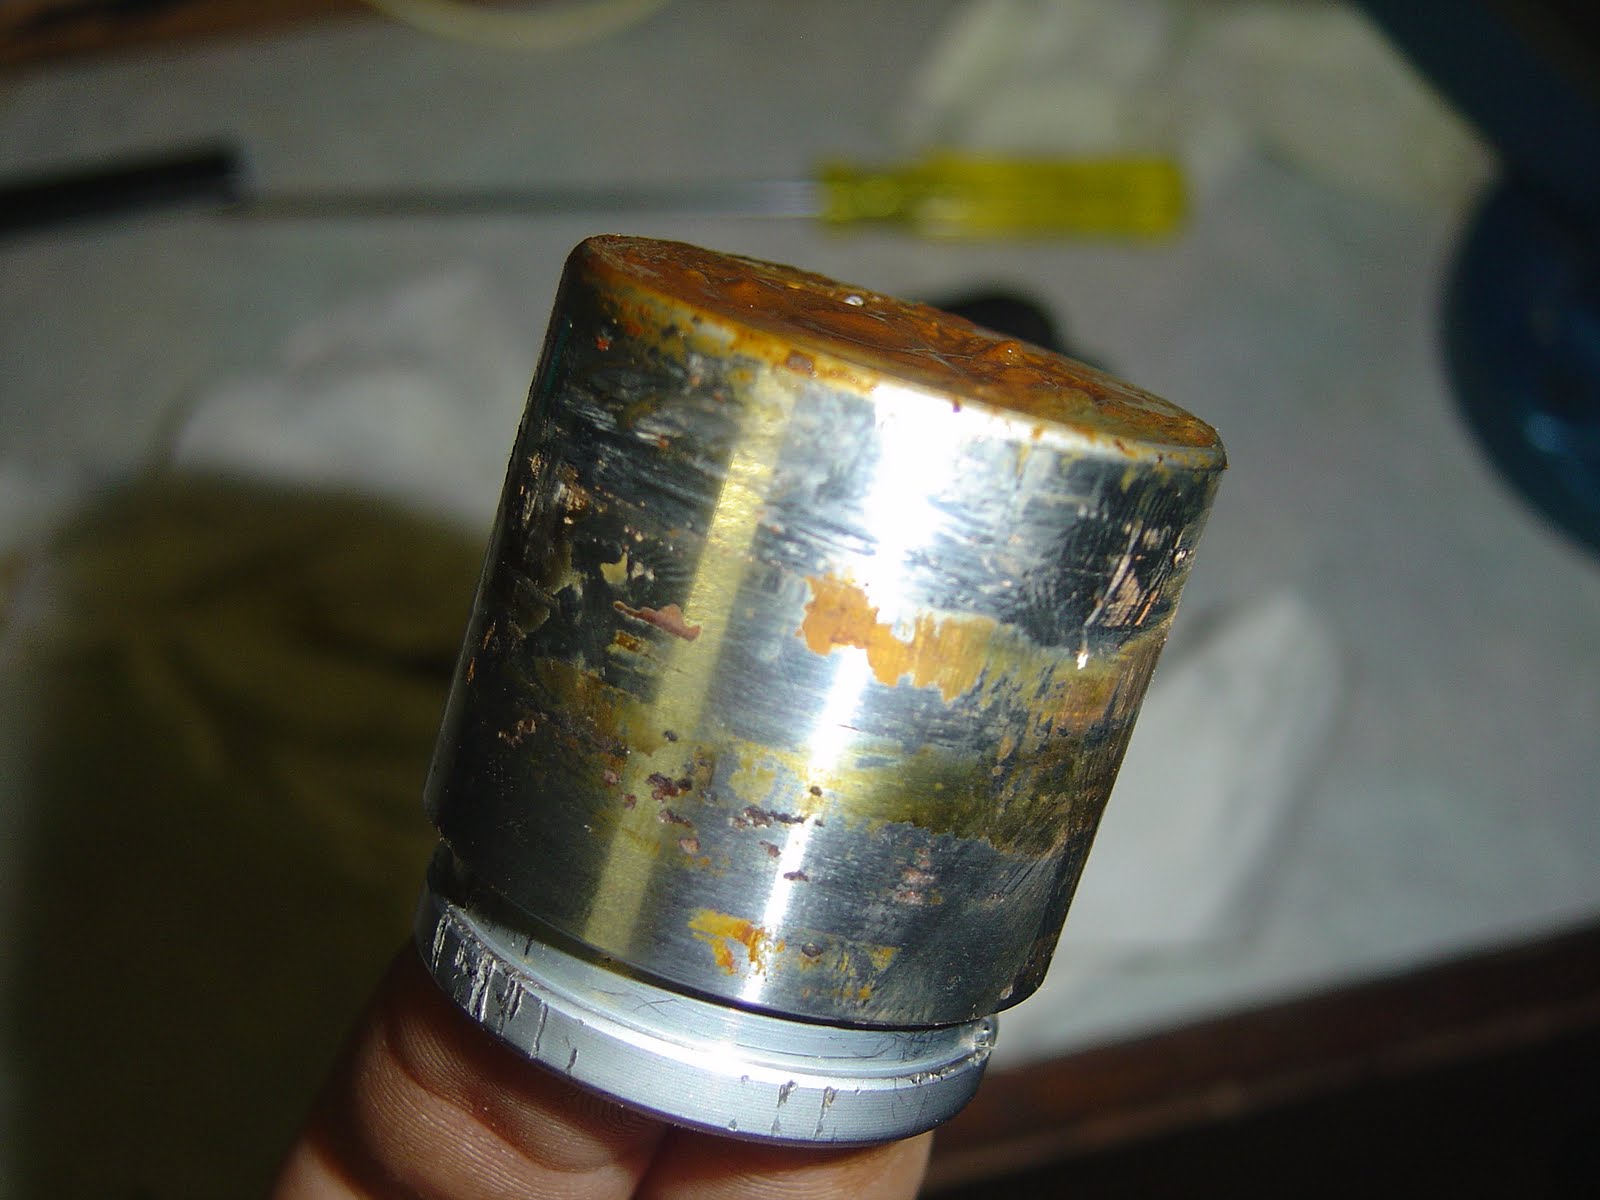
Tach Drive Block-off Cap

Which was a total of $342.10 AUD with shipping.

Last weekend I pulled off the right hand case cover and cleaned up the insides of that, replaced the kickstarter seal, re-installed the kickstarter, new oil filter, new gaskets on the oil filter, it's cover and the side cover.

This weekend I have replaced the clutch pushrod seal, checked over the carbs again and then installed them. All I have left to do before I can start it up, is fill it with oil, confirm the timing is still ok, hook up a temporary fuel tank and hope that the wiring is still all ok.

My total for the project so far is now $804 out of pocket, which I think it pretty good. Sure I could have saved a little cash by not purchasing the new speedo and pamco ignition, but I think they are justified by the fact that they will allow the bike to run better (Pamco ignition) and the new speedo is smaller and has all of the lights needed for the bike to stay legal with our road rules. My current speedo looks ok, but the original tacho is broken and non functional, so it is going to come off as I could fail roadworthy if it is on the bike and non functional, and it contains the high beam light (which is also a must for roadworthy)

So hopefully my update next weekend will be a good one with a running motor and a video to show it!