Follow me on my project as I purchase a Yamaha XS650, get it running and registered and then chop it into what hopefully is a sweet scoot that I can get out on and tear up the roads.
The other weekend I started on cleaning up the brakes, as they had been disconnected a while and looked like they needed a good clean.
It turns out that I was right, as they where seized solid. It took a can of brake clean per caliper, a c clamp, a piece of timber and my air compressor to get the pistons free and out of the caliper housing.
I started by getting the calipers off the bike and giving them a good clean around the piston. With one caliper I was able to bottom it out and then slowly work it out with the compressed air, the other caliper took several hits of 110PSI of air with lots of brake cleaner to even move the smallest amount.
With lots of air and then pushing the piston back into the caliper I was able to eventually get the piston free.
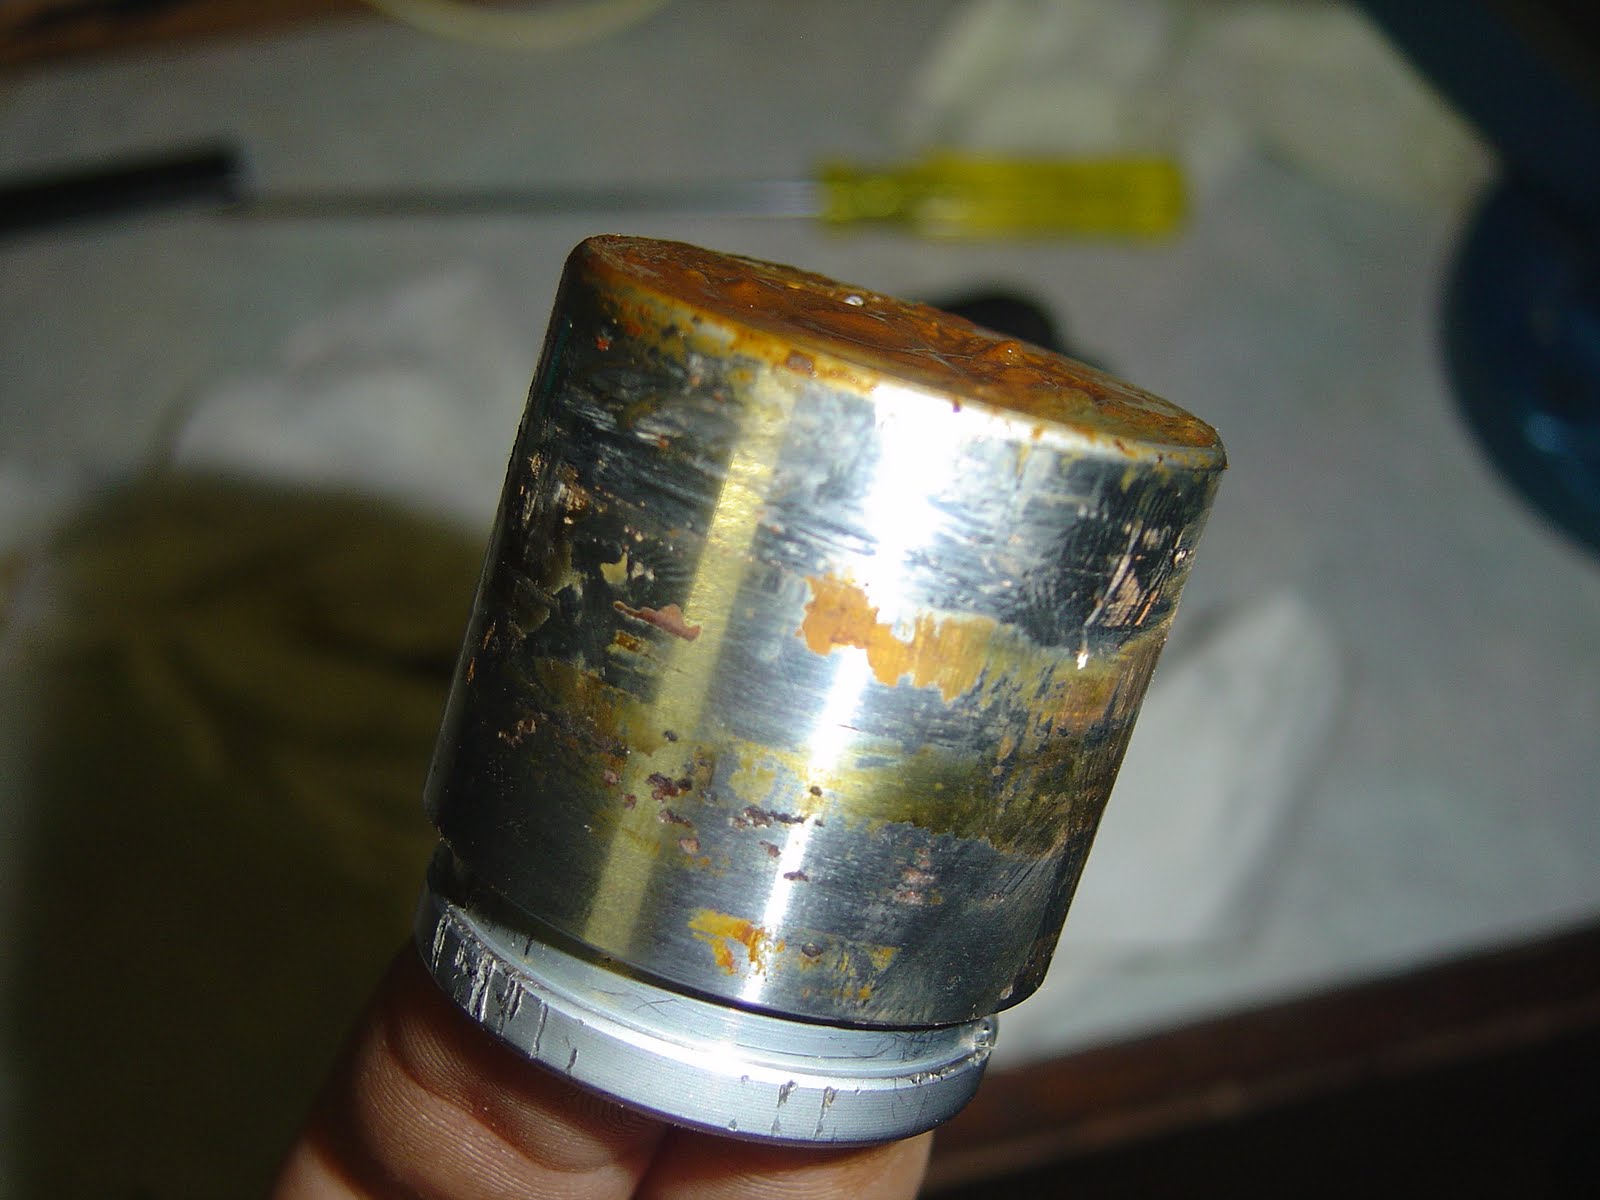
The pistons have some pitting on them, and I am going to get someone elses opinion on them before installing the rebuild kits and reassembling as I am not sure if they should be used again or not.
I trid to stqart the bike on the Anzac Day Long weekend, but ran into an issue with the original coil having broken plug wires, plus I looked further into the bike, and at some stage someone had installed points and condensers, so the bike wasn't in fact running the TCI system from what I can tell.
So I set about installing the Pamco Ignition kit that I purchased from MikesXS and got that and the new coil all wired in. Although the bike had been converted to run the older points system which uses the ATU unit, I had to replace it all as it was worn and siezed.
That set me back until this weekend when I completed the wiring and had a go starting the bike. I hooked everything up, put the battery in and filled it with fuel, only to have the left carb pour out fuel. It was obviously the float sticking, but tapping it with a screwdriver did not stop the flooding. So I pulled the carbs off again, re-set the float levels and made sure all was ok, and I ran a test on the bench to check if the carbs would flood again. This time there was no flooding, but there was a leak from the Fuel T piece that connects the two carbs to the fuel source. Not having actually split the carbs apart from each other, I had not replaced this piece or checked it out.
I started pulling the carbs apart, but got the the screws holding the carbs to the link bar, which where soft and starting to strip. With one screw nearly completely mangled already, I decided to use a trick I had done before - get some nuts welded onto the tops of the screws to help pull them out.
I got a good friend of mine to tig on some nuts and together with the welding and the two of us persuading the screws we got them dissasembled. I then stripped off the work rubber on the end of the carbs and cut up some new fuel tube and pressed the assembly back togethe. This stopped the fuel leak from the T piece, so I mounted the carbs again and got to kicking her over.
After finally getting the fuel flowing correctly, the battery was sitting at 7.4 Volts and I kicked the bike to life for the first time since I have had it, and for the first time in over a year for the bike itself.
I would recommend double clicking on the Youtube video below and opening in a new full size window
I am from the Gold coast and I am into bikes, cars and music. I love to tinker with my vehicles so the next logical step is get get a bike, fix it up and then chop the hell out of it.